Having realized I would need to make a mock up for my historical mashup gown, I got out the biggest piece of white cloth I had. I draped it over the top of the other colors I’d chosen, and – still with trepidation – started cutting. I cut out the left front, lay the yardage down on the floor and cut a mirrored right front. Then I hung the rest from the shoulders and cut the left back edge; again I lay the yardage down (this time with a fold to eliminate a center back seam) to cut the right back edge. I took the largest piece of scrap, draped it over my arm, trimmed it, and used it as a template to cut three more half-sleeves.
I basted the fronts to the back, as well as each sleeve. If I’d had any sense, I’d have at least noticed the uneven, unfinished side seam hems before cutting the final fabric. As it is, I’ll probably have to do something with flounces or lace to hide how the final hem hikes up at the side seam. Though keeping the hem very narrow at that spot might help.
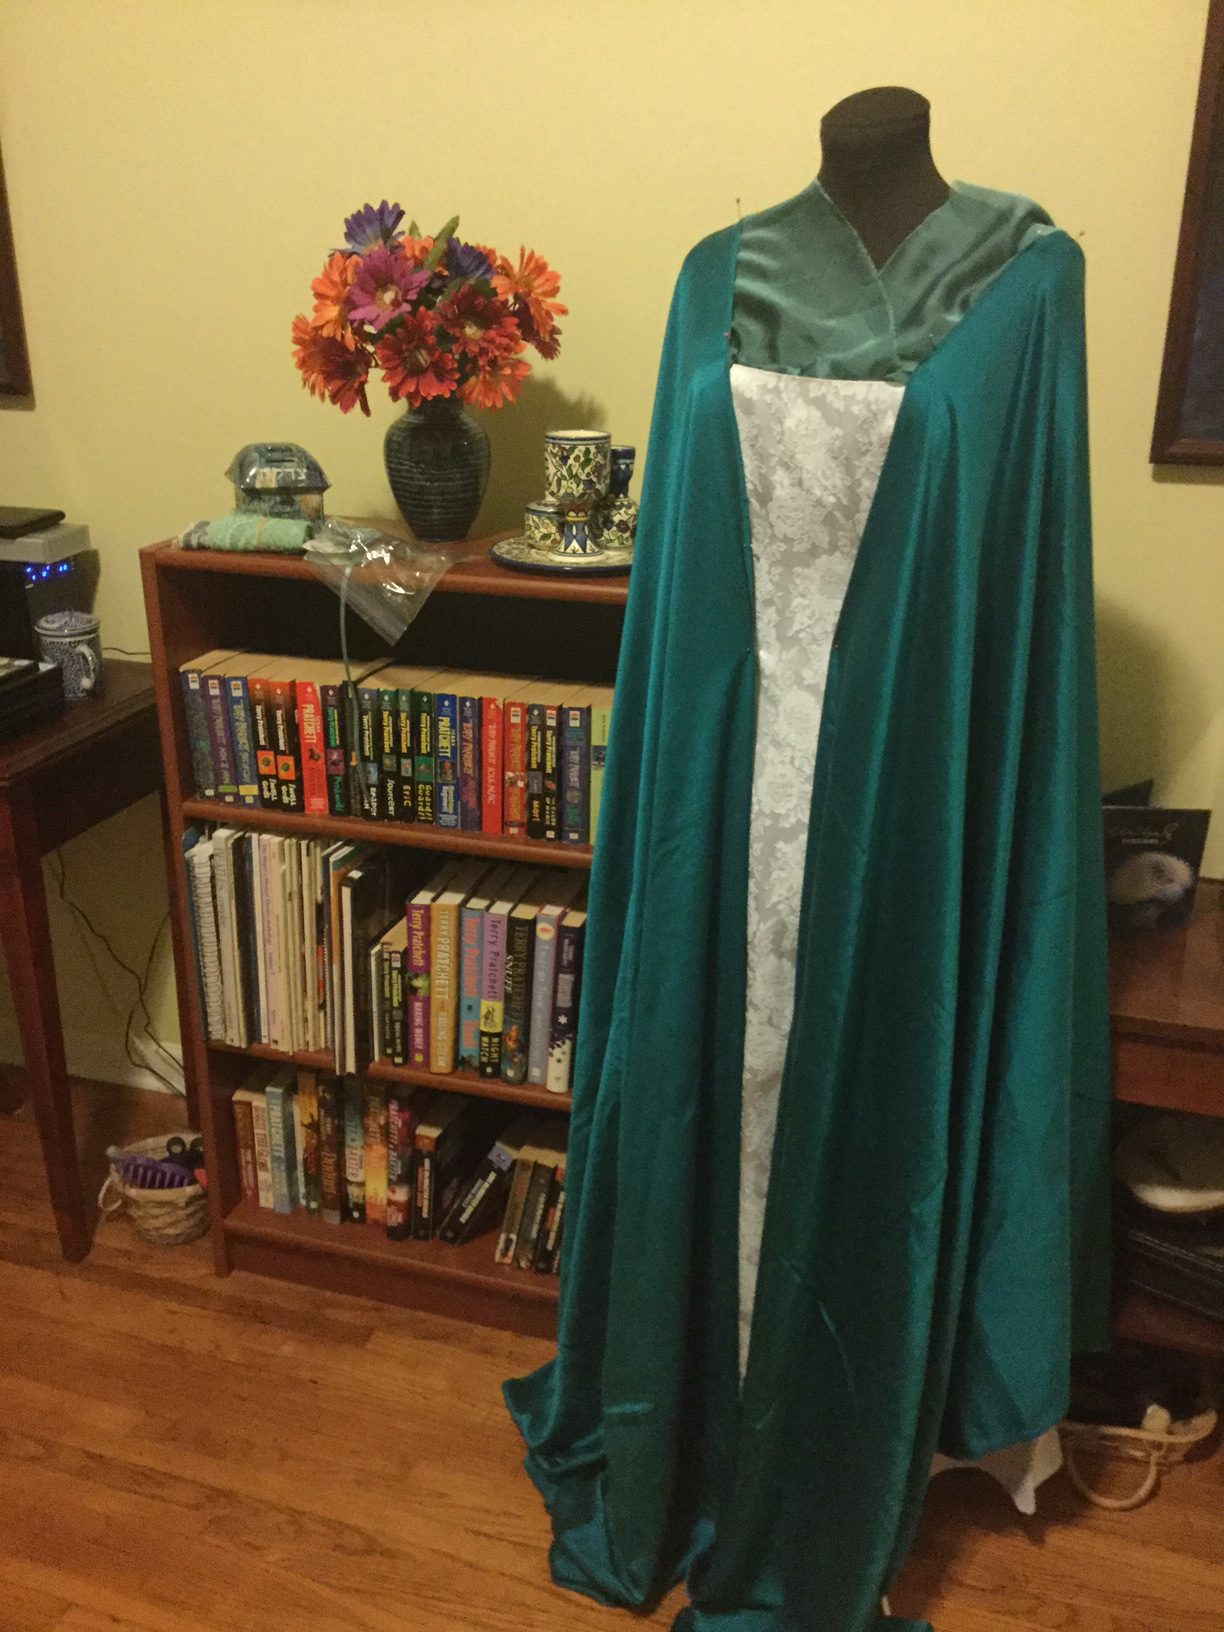
But that’s not all. Having cut the final fabric, I proceeded with assembly of the mockup, expecting to turn it into a liner, and found that the armholes of sleeve and bodice did not line up. The bodice was bigger. So the mockup started out with a couple of pleats at the back of each armhole, creating rather a lot of drape. I tried tacking it in place, but when it didn’t hold, I decided to implement my first attempt at a fix: taking a little length off the narrow end of the sleeve, bringing the seam to a wider part of the curve. It helped significantly. I realized that I also didn’t take seam width into account on the front of the bodice, so I was afraid I’d have to overstitch the two layers, possibly with a framing ribbon in front, to compensate.
Then disaster struck. I had only rotated the pattern piece for the final fabric of the front around, not over. I had two right front pieces, instead of a left and a right. After some panic and swearing, it occurred to me that the piece wasn’t too far off of being symmetrical, so decided to adjust one of them to fit. I trimmed the side that would become the front opening and added a gusset to fill out the armhole. Not nearly as awkward as I’d been afraid of!
I added some more tucks and darts to the mock up, then assembled the final version and did the same to it. Then I took a break to make the puffed inner sleeve. I started with the same sleeve piece as all the rest, cut some rectangles for cuffs, and started putting basting at the lower extremity of the sleeve to find out how much gather would fit. I got my cuff steps out of order briefly, so one edge of a cuff has overstitching when it should have been turned wrong side out and had the edge stitched that way before going back to right side out to stitch to the gather.
Then I had to decide what order the sleeves would sit in. I wasn’t sure whether to use the mock up to line the final sleeve, or to puff out the inner sleeve. The latter won – the white would have looked weird inside the blue sleeve, and the stuffing helped a lot! I was also able to take advantage of that decision to attach the inner sleeves with a half circle of stitching on only the top half of the mockup’s shoulder seam.
Another mental wrestling match with spatial relationships later, I put the final version on the dress form first, right side out, followed by the mockup, outside out (which technically is the wrong side, because I want all the seams and tucks hidden between the layers). I pinned (for once!) all around the front opening, then stitched the layers together. Flip the final layer from the underside to the overside, stuff the inner sleeve into the outer sleeve, and it’s ready for hemming and embellishments. Which will have to wait for another day.