The Coop: Part 1

I have to admit, I was surprised and bummed to find that there were so many steps to building even the simplest (box) chicken coop. (Heck, you know I don’t iron or pin my fabric if I think I can get away with it.) You’ve recently read that my mother-in-law talked me into framing the thing. Then I found out it needed a foundation. And “What are you going to do to weatherproof it?” Jeff asked. Good grief!

A trip to Lowe’s for landscaping bricks. Reclaiming the cement sealant I’d bought years ago for the basement floor. Luckily I’d recently acquired some paint since it could double for redoing the front porch.

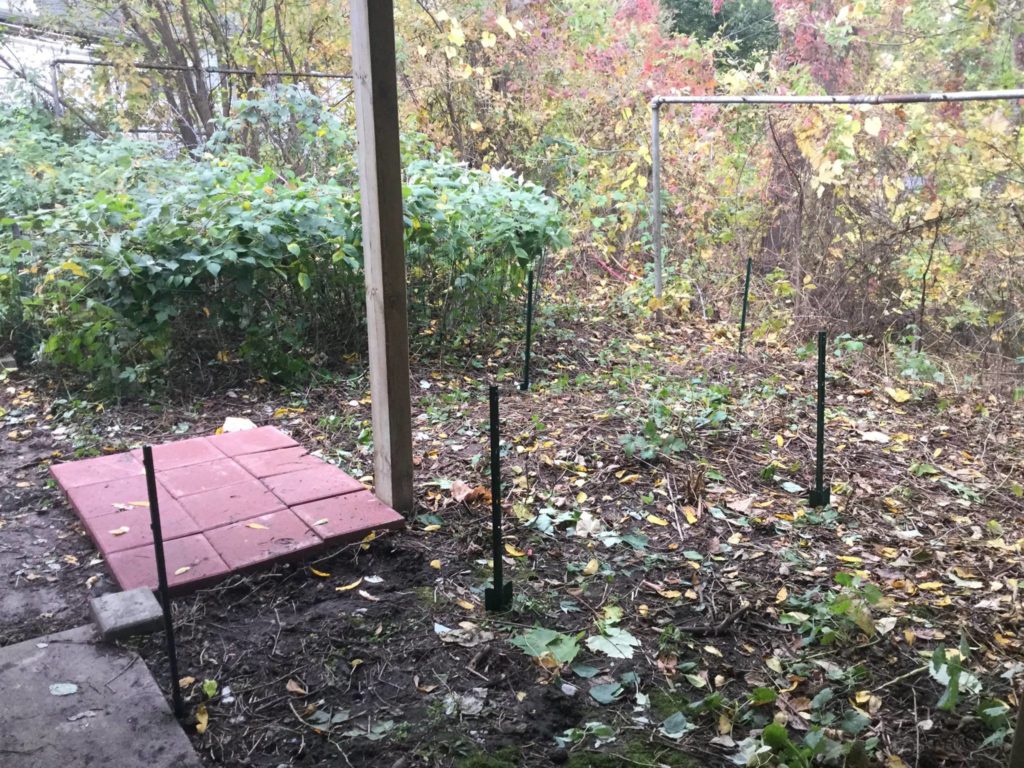
Then I had to clear out black raspberry canes, weeds, and other detritus. Lay the foundation. Build a rectangle for the base. Fasten the plywood onto it. Add vertical beams. Fasten three sides on (first having cut the exit into the third). (Found a neat trick: rotate the bars for resting the top on so that it has a little bit of ventilation/slope.) Try to fasten the top on with hinges (for easy egg retrieval). The coop was going under the deck, surely I could balance it on the deck’s upright? Nope. Add a hand, a head? Recipe for disaster. Stop. Re-evalute. Rotate the whole darn coop up against the house. Lean the top on the house. Now the hinges will go on. Try to add a board for the nesting box to the fourth (unattached) side. Jeff gets home to help with that part. Exhausted, stop for the day. Pray it doesn’t rain.

base
Cleared ground and foundation for the chicken coop. Ready to get it done? Go to Part 2!

Intermediate Woodworking: The Arbor

The bench was not enough preparation. Before I’d even finished the bench, I roped my mother-in-law into a wood buying trip (she’s actually got a big enough vehicle to transport what I needed) for both the chicken coop and a new arbor for the entry to the backyard. She saved me from several silly mistakes (for example, yes, I should use framing on the coop instead of just slapping plywood together in a box shape).

(Edit from the future: Chicken coop posts can be found here and here.)

I thought the arbor would be easy. Four 2x4s for the uprights, three 1x4s for cross pieces, a bunch of 1×2 to lattice the sides.

And for a bit, it seemed like it actually would be easy. I framed a rectangle, and another. I laid out the lattice. But…

The screws we had lying around the house were terrible. Stripped the second you looked at them. There are still some sticking an inch or more out of the top of the final result. So I made another trip to the hardware store for some star headed screws.

The structure wouldn’t hold together when it stood up. Just fell to pieces. So I made a trip over to my mother-in-law’s to take her up on the offer of her extra L-brackets.

And then to top it all off, I didn’t measure the opening. The arbor is comparatively enormous. So terribly out of proportion. I almost cut the whole thing down (after Jeff helped me cable tie it to fence) to get it down to size. But I’m lazy. So “let’s give it the winter” we thought. And if you peek ahead (which you have to, because apparently I don’t do progress photos), you’ll see that that may have turned out to be a good thing:

img_1080
The new arbor (camouflaged by previous trellis, now with sneak peek gate which you can now read about here) and a bonus snow-covered bench to the right.

New topic: Woodworking!

What can I say? I took a break from clothes. The tags (or some simple scrolling) will help you skip this section if you want. (And at some point maybe I’ll add more menu options. And then add posts about building websites. :P)

What got me into woodworking? It’s a little convoluted. The short version has basically two prongs:

– I went to an environmental school and helped raise chickens in 6th grade. My city now has a pilot ordinance allowing chickens through a licensing process. I want chickens, they need somewhere to live. Woodworking.

– I have actually used some power tools before. Besides sewing machines. (Can I just add that I think it is so funny that Husqvarna makes farming equipment in addition to my lovely sewing machine. I have to recalibrate my brain every time I go to the feed store now.) I helped build sets for several theatrical productions one summer…under heavy supervision. And Jeff and I (but mostly Jeff) have made a bunch of raised beds and a cold frame for our garden.

So needless to say I wanted to start small. Not with a whole chicken coop. We had a bunch of leftover boards that I (poorly) assembled into a bench. (With a little help from my mother-in-law, who not only owns a very handy chop saw but also provided a great trick for cutting two boards to the exact same length – stack them on top of each other!) So my bench now has a seat, and a back, and two wobbly little legs under the seat, and two identical long legs affixed to the back. It’s under a mound of snow right now, or I’d show you a picture. (Or would I? My mother saw it and thought I was finally getting over my perfectionism. Um…maybe not!)

garden
In lieu of the bench, here is a nice view of my front garden, with a little bit of raised bed and some cold frame visible on the far side of the sidewalk. (And I’ve laid brick, too!)