So many more steps. (Missed Part 1? Read it here.)
Get out the cement sealer (epoxy shield). Mix it. Wait an hour. Roll it on the whole darn coop (I’d actually bought OSB, not plywood – it really needed that water protection). Stop for the day to let it dry.
Get out the actual paint. Roll it on the whole darn coop. Stop for the day to let it dry. (And I think I did this part over two days?)
Realize how many gaps there are. Caulk the snot out of it with every tube in the house.
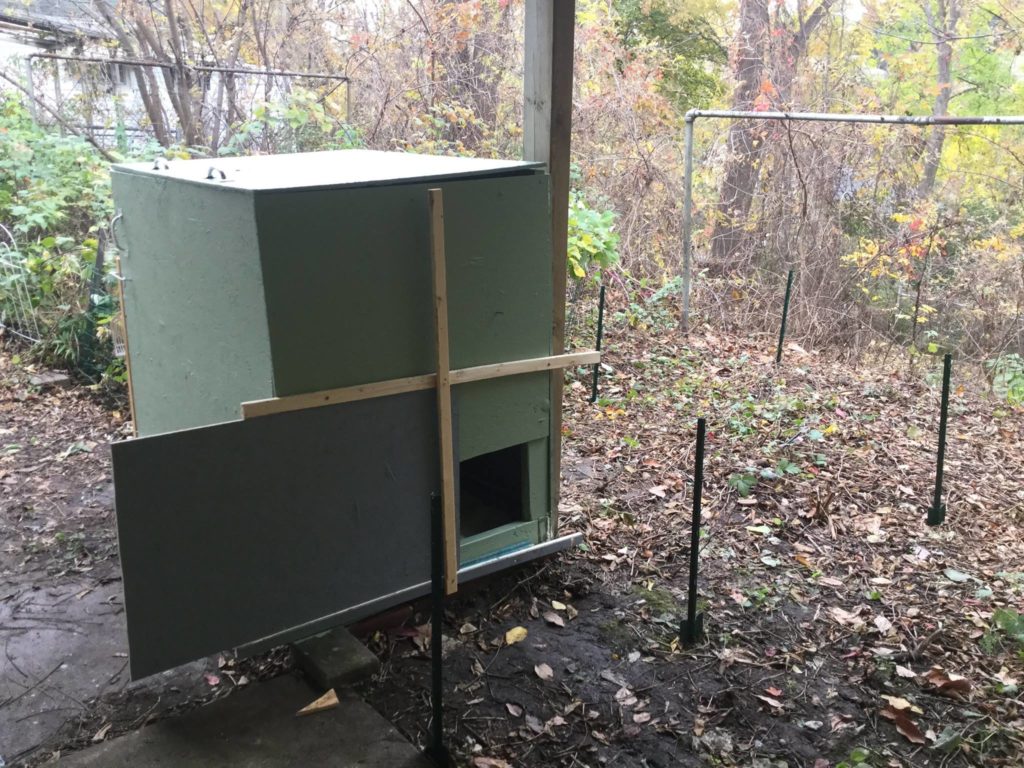
Try to attach the fourth side. Realize with a nesting box the full length of the wall, it would attach to the outside of the other walls. Borrow mother-in-law’s handheld saw. Hack a bunch off. Decide this wall should hinge too, or the coop will never get cleaned. Drive to hardware store. Attach wall.
Think about how mesh for run will attach. Add door and trim to be compatible with both that and covering the exit.
More minor adjustments (not to mention enclosing the run), and it’s ready for chickens!